


Kubernetes is a container management system which is built with reliability in mind. Architecture is commonly 1 master and 2 or more nodes which are replicated from the master. When the master dies the nodes are ready to replace it. When one node dies another will be ready to replace it.
To create a Kubernetes cluster follow our guide on "How to Use and Install Kuberenetes with Weave Net".
Prerequisites
- A Kubernetes cluster with 1 master and 2+ nodes
- A Gremlin account (sign up here)
Step 1 - Downloading your Gremlin client certificates
After you have created your Gremlin account (sign up here) you will need to find your Gremlin Daemon credentials. Login to the Gremlin App using your Company name and sign-on credentials. These were emailed to you when you signed up to start using Gremlin.
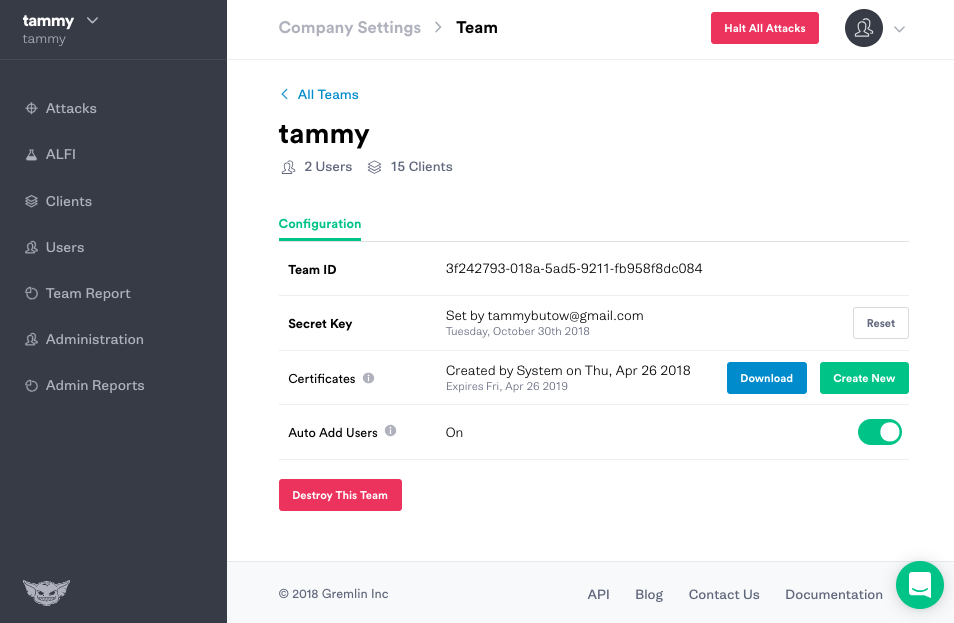
Navigate to Team Settings and click on your Team. Click the blue Download button to save your certificates to your local computer. The downloaded certificate.zip contains both a public-key certificate and a matching private key.
Step 2 – Set up your Gremlin credentials
After you have created your Gremlin account (sign up here) you will need to get your Gremlin Daemon credentials. Login to the Gremlin App using your Company name and sign-on credentials. These details were emailed to you when you signed up to start using Gremlin. Navigate to Company Teams Settings and click on your Team. Click the blue Download button to get your Team Certificate. The downloaded certificate.zip contains both a public-key certificate and a matching private key.
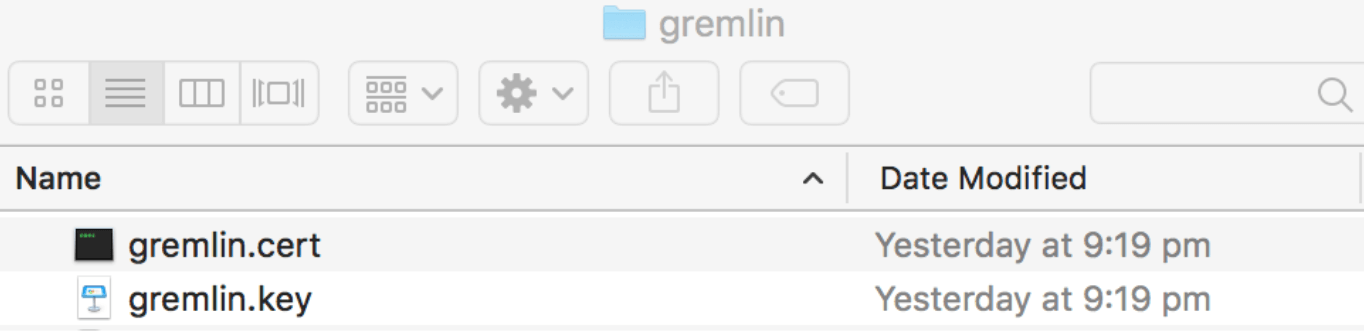
Unzip the certificate.zip and save it to your gremlin folder on your desktop. Rename your certificate and key files to gremlin.cert and gremlin.key.
Next create your secret as follows:
kubectl create secret generic gremlin-team-cert --from-file=./gremlin.cert --from-file=./gremlin.keyInstallation with Helm
The simplest way to install the Gremlin client on your Kubernetes cluster is to use Helm. If you do not already have Helm installed, go here to get started. Once Helm is installed and configured, the next steps are to add the Gremlin repo and install the client.
To run the Helm install, you will need your Gremlin Team ID. It can be found in the Gremlin app on the Team Settings page, where you downloaded your certs earlier. Click on the name of your team in the list. The ID you’re looking for is found under Configuration as Team ID.
Export your Team ID as an environment variable:
export GREMLIN_TEAM_ID="YOUR_TEAM_ID"(Replace YOUR_TEAM_ID with the Team ID you obtained from the Gremlin UI.)
Next, export your cluster ID, which is just a friendly name for your Kubernetes cluster. It can be whatever you want.
export GREMLIN_CLUSTER_ID="Your cluster id"Now add the Gremlin Helm repo, and install Gremlin:
helm repo add gremlin https://helm.gremlin.comhelm install gremlin/gremlin \
\--namespace gremlin \
\--name gremlin \
\--set gremlin.teamID=$GREMLIN_TEAM_ID \
\--set gremlin.clusterID=$GREMLIN_CLUSTER_IDFor more information on the Gremlin Helm chart, including more configuration options, check out the chart on Github.
Step 3 - Creating attacks using the Gremlin App
Example: Creating a CPU Attack against a Kubernetes node using the Gremlin App
You can use the Gremlin App or the Gremlin API to trigger Gremlin attacks. You can view the available range of Gremlin Attacks in Gremlin Help.
The “Hello World” of Chaos Engineering is the CPU Resource Attack. To create a CPU Resource Attack, select Attacks from the navigation bar on the left and click New Attack. The Hosts targeting should be selected by default.
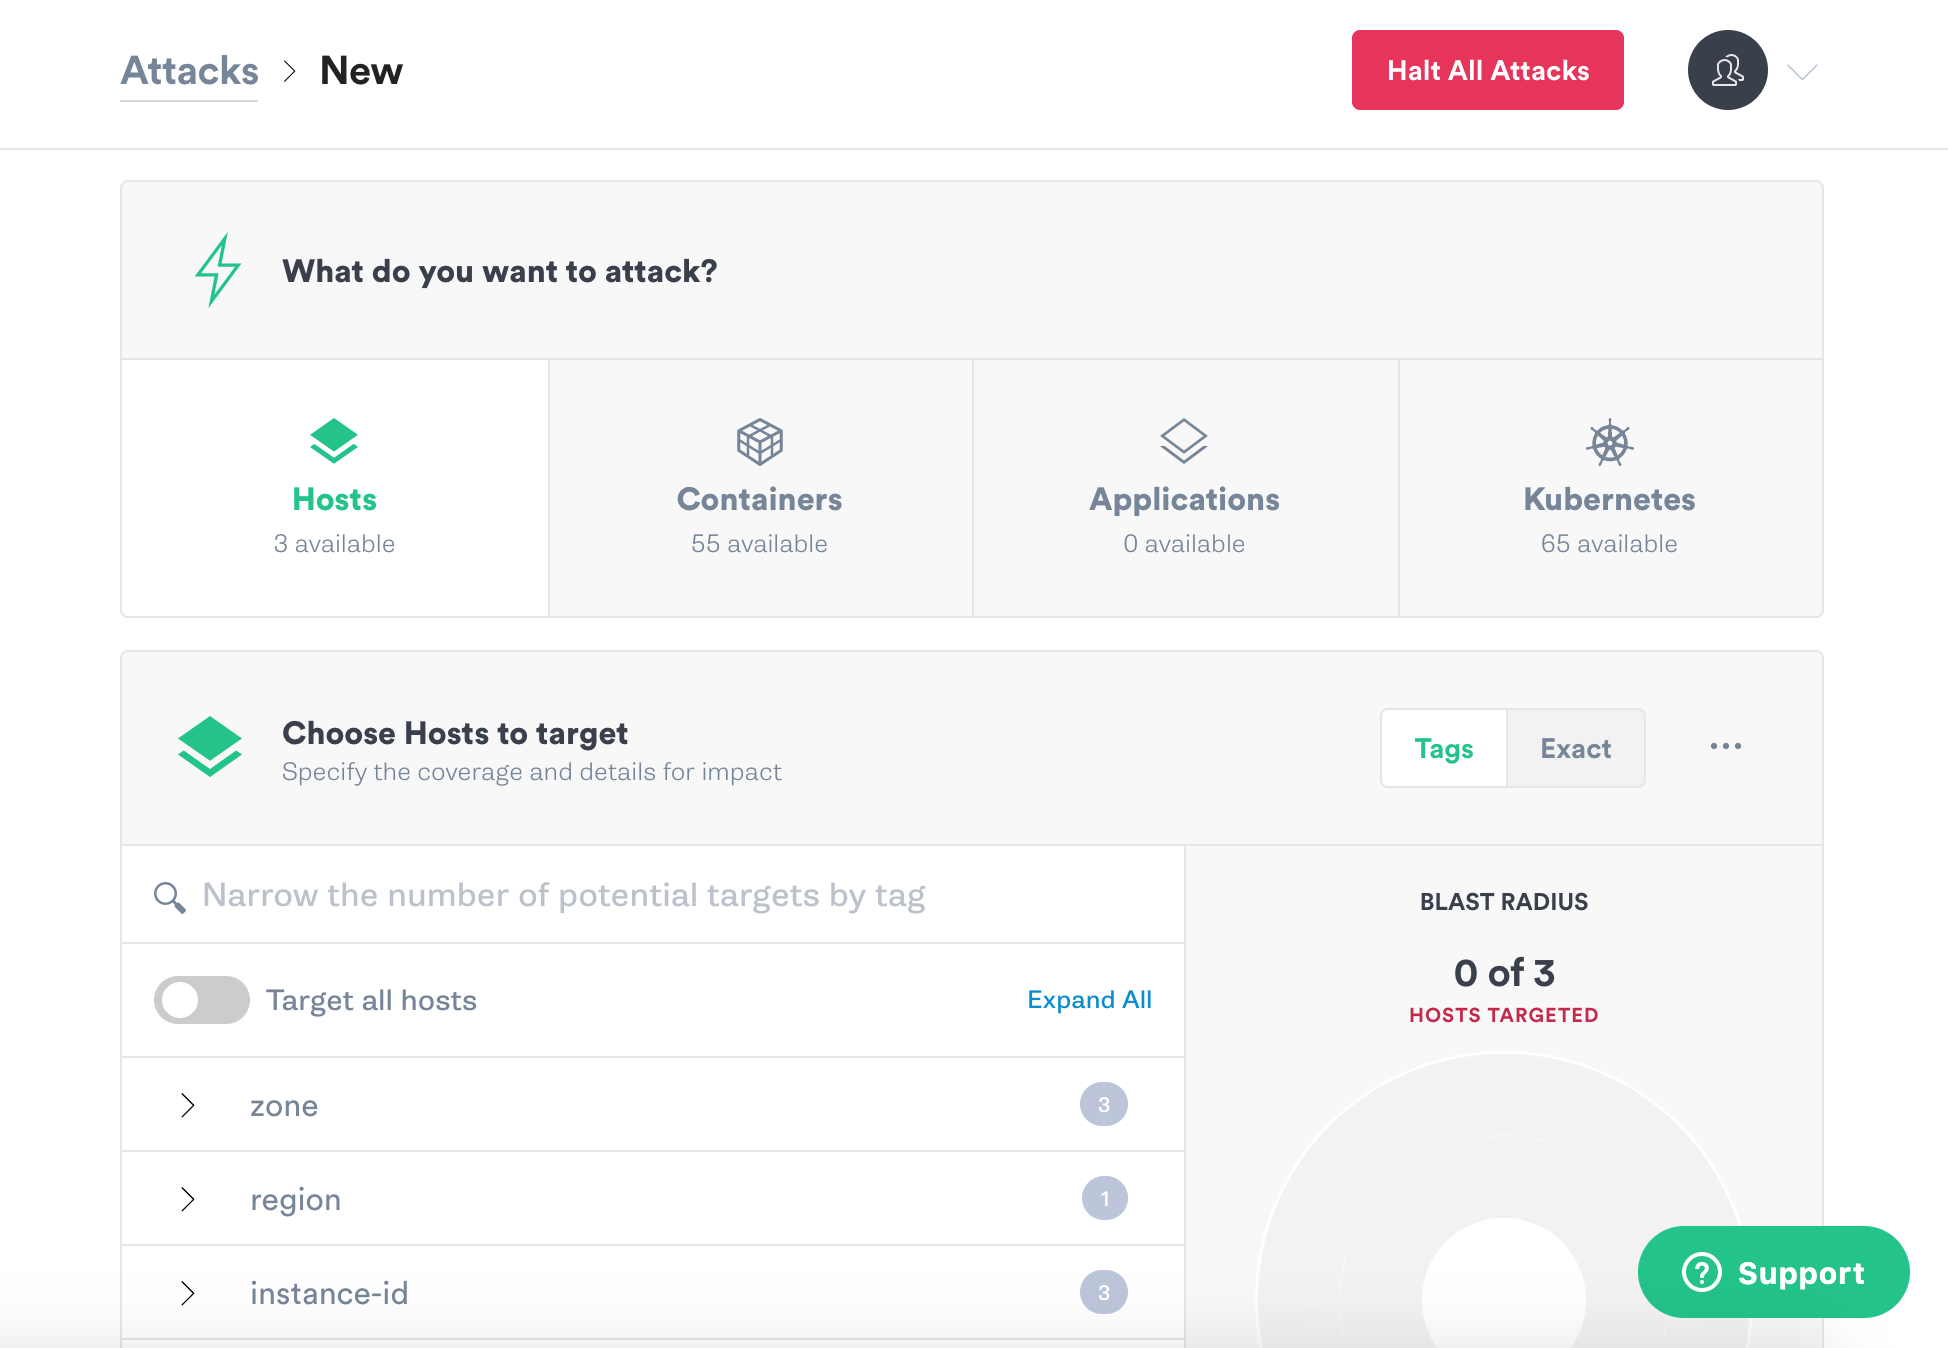
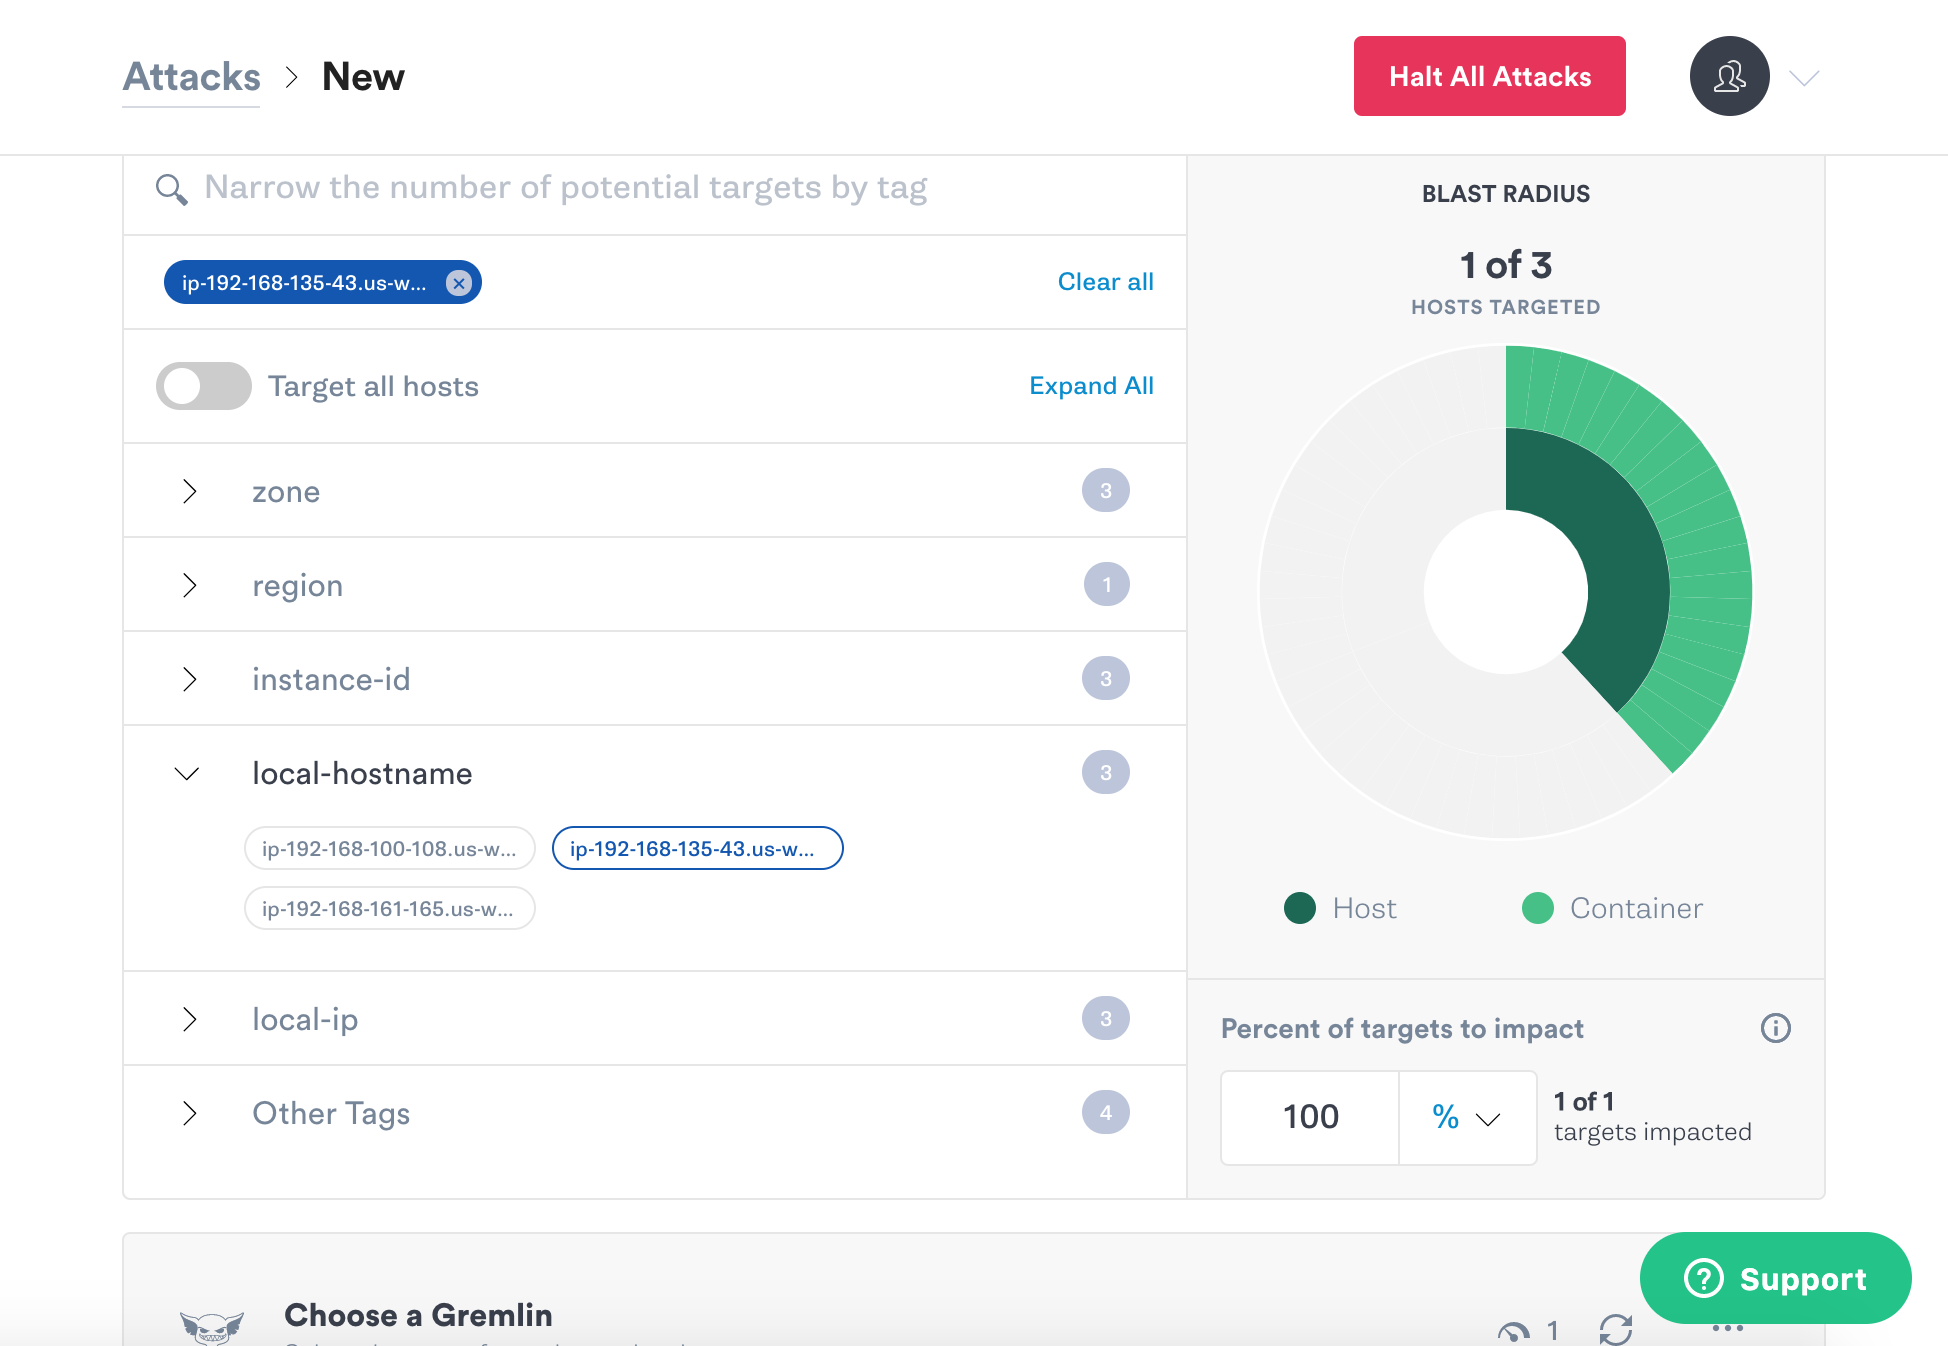
Scroll down to choose the hosts to target. We’ll start off with one host, since it’s always better to start with a smaller blast radius and increase it later. Under “Choose Hosts to target,” expand the category called “local hostname,” and click on one of the hostnames in the list. You’ll see it gets selected, and the Blast Radius graphic will show one host is targeted.
Scroll down and click Choose a Gremlin. Select Resource, and CPU.
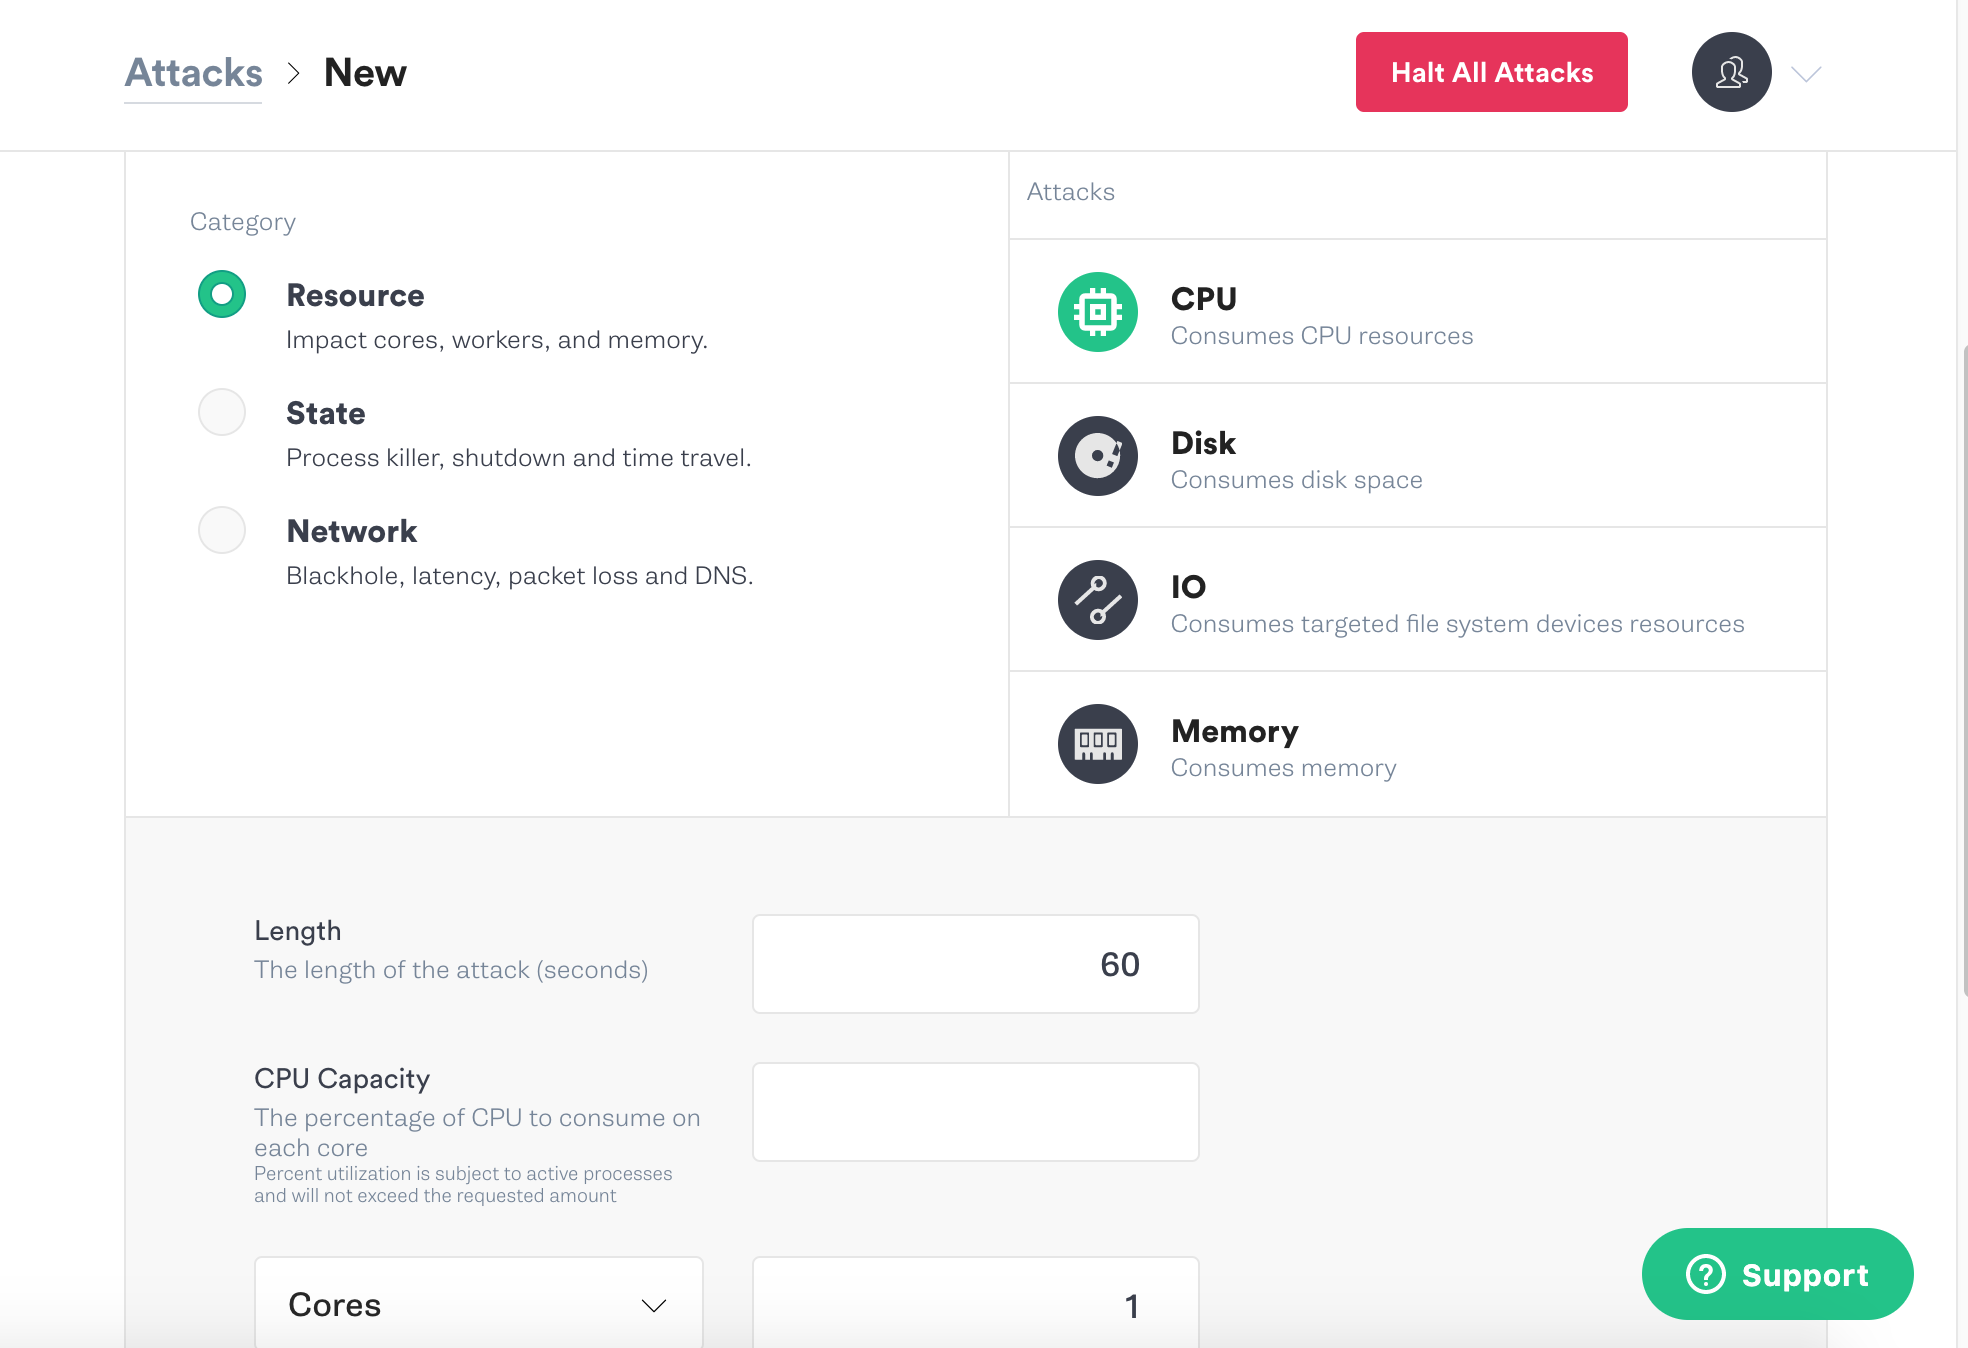
The CPU Resource Attack will consume CPU resources based on the settings you select. The most popular default settings for a CPU Resource Attack are pre-selected. A default attack will utilize 1 core for 60 seconds.
Scroll down and click the Unleash Gremlin button to start the attack.
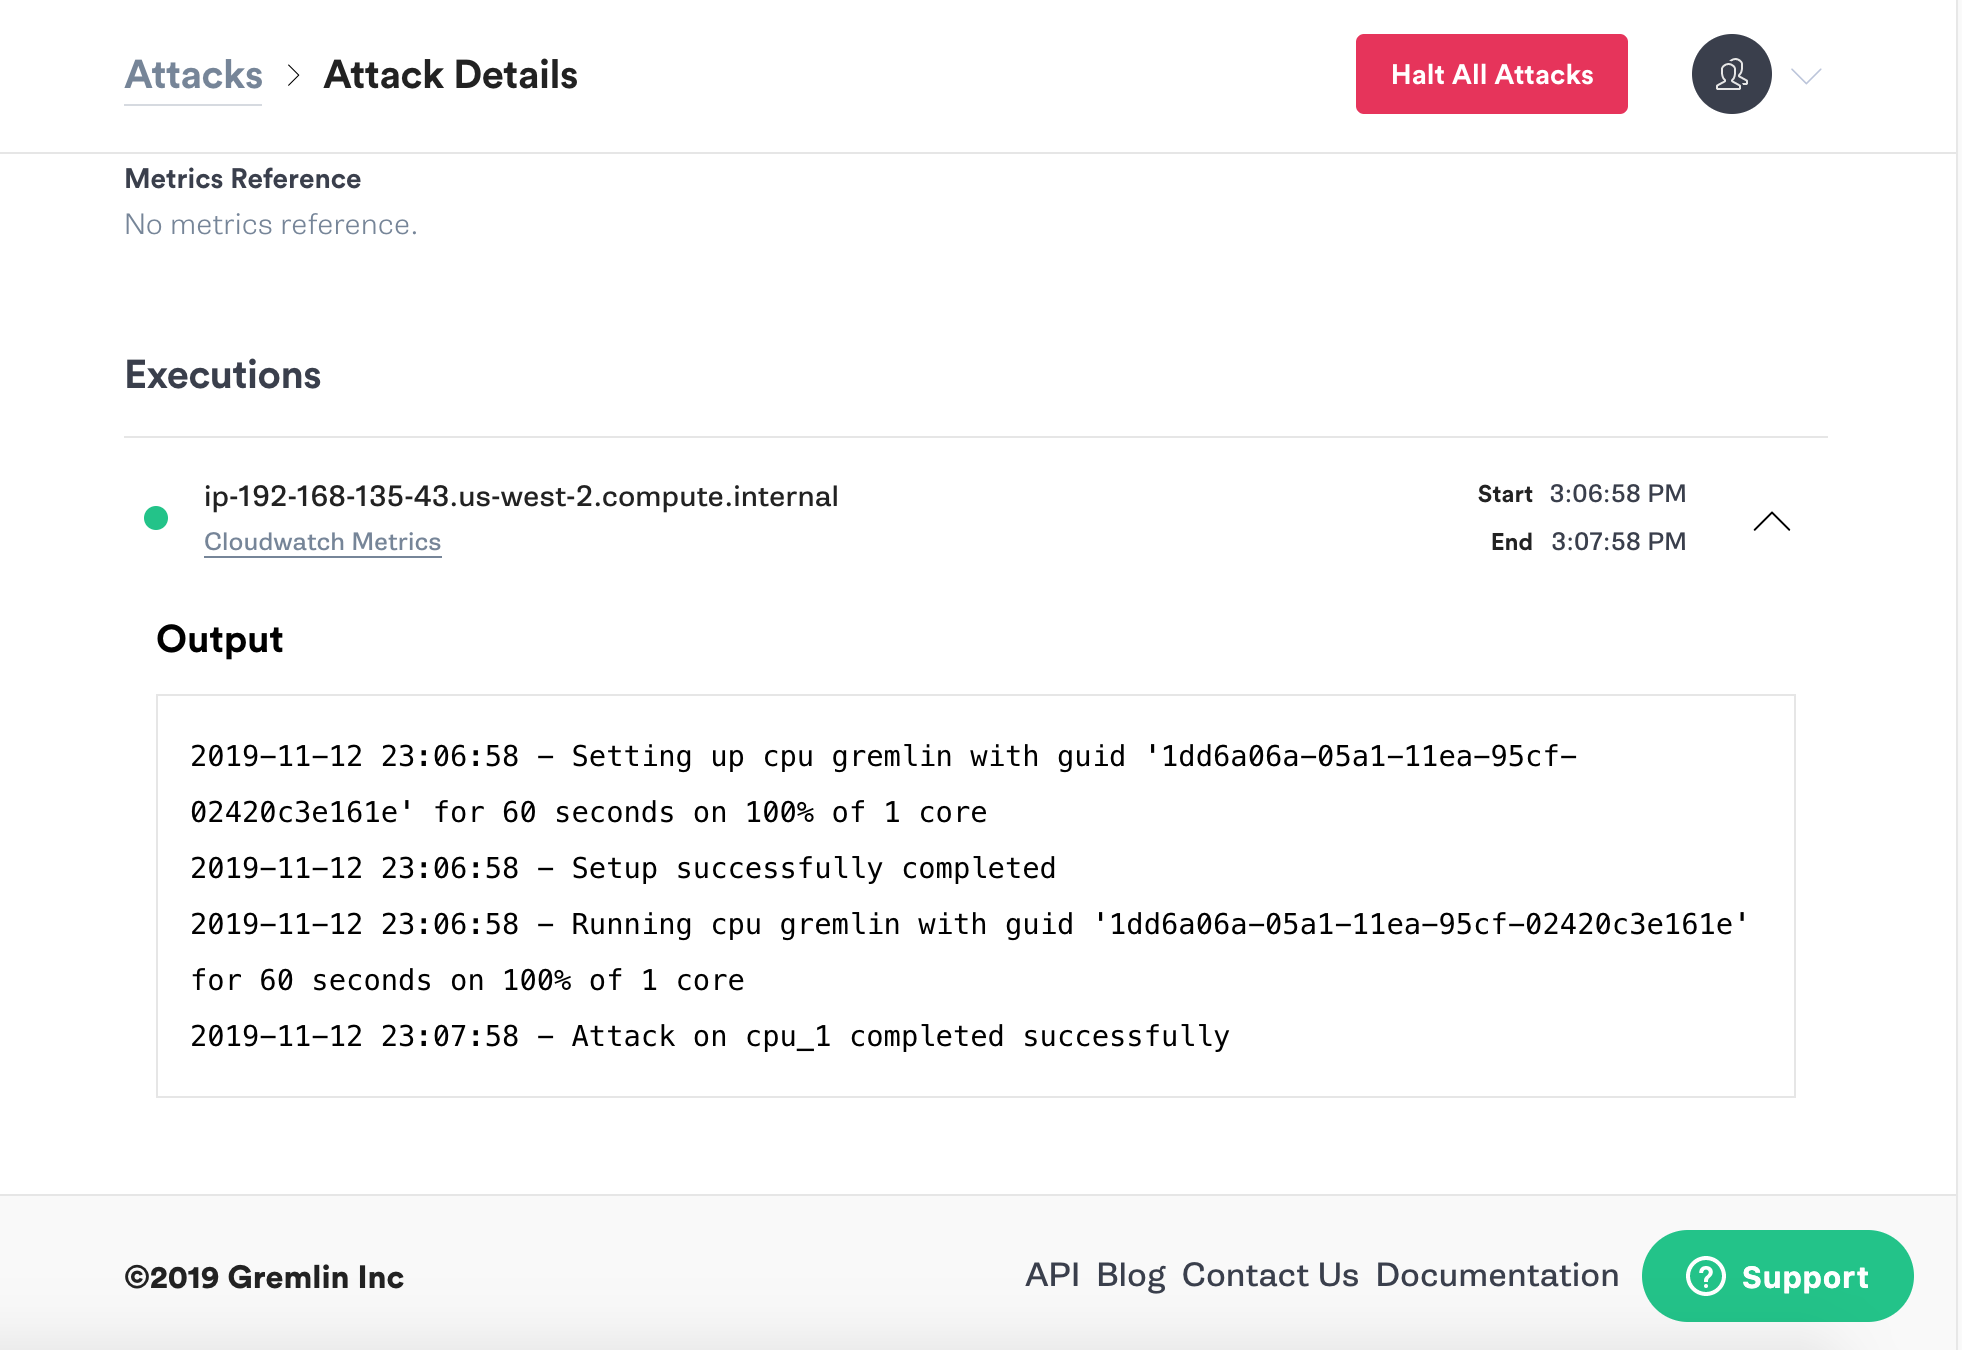
When your attack is finished it will move to Completed Attacks in the Gremlin App. To view the logs of the Attack, click on the Attack in Completed Attacks then click to the arrow to view the logs.
Conclusion
You've installed Gremlin on a server running Kubernetes and validated that Gremlin works by running the “Hello World” of Chaos Engineering for Kubernetes, the CPU Resource attack. You now possess tools that make it possible for you to explore additional Gremlin Attacks with Kubernetes.