
Get Started with Gremlin Free
Perhaps you have heard about Chaos Engineering and realize it’s important, but you don’t quite know how to go about implementing it. You know that we have released Gremlin Free, but you aren’t sure how to get started actually doing anything with it.
This article was written specifically for you. In about half an hour it walks you through what you need and how to set it up so that you can give Gremlin Free a try and perform your first simple Chaos Engineering experiment.
Prerequisites
For our example, you don’t need anything. We will walk you through setting up a free-tier Amazon EC2 cloud server, installing Gremlin on it, registering it with the Gremlin Control Plane, and running your first experiment. You don’t even have to know what all that means right now, as each part is explained as you go through the process.
If you don’t want to use Amazon’s cloud, you can skip the Create a Cloud Server section and use your own internet-accessible server, whether installed in a data center or running on any of the major providers. If you go that route, you must have a Linux-based server with access to the internet (can be in a data center, cloud, container, VM, etc.) and SSH access with install privileges.
Create a Cloud Server
For this article, we will set up a free tier instance in Amazon’s EC2. From the link, click Try Amazon EC2 for Free and enter the requested details to create your account.
Once you have signed up, log in to your account.
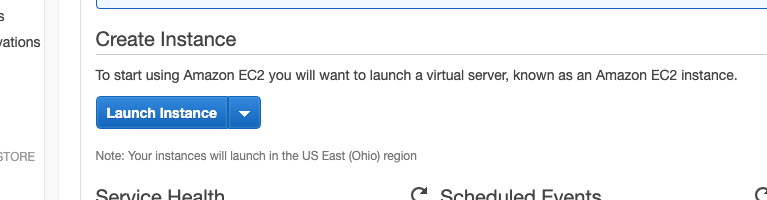
From the Services menu, in the Compute section, select EC2.

From the EC2 dashboard, select Launch Instance.
Select an Amazon Linux AMI image.
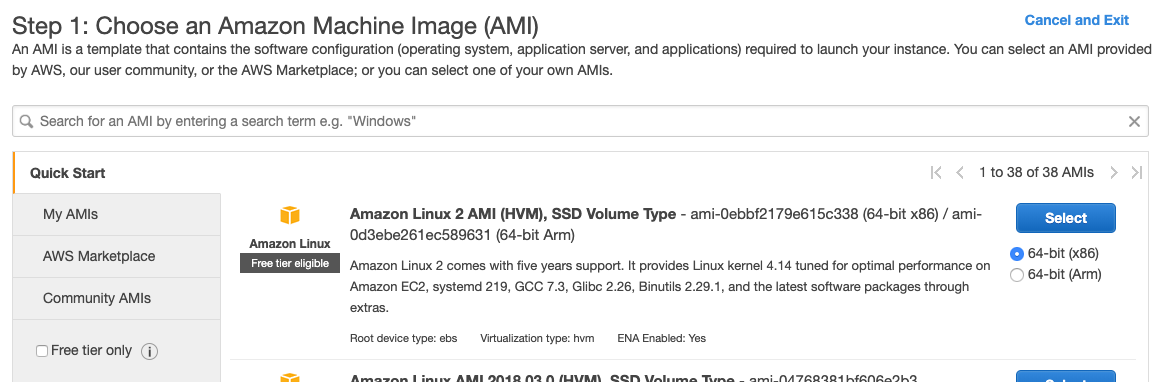
You will be asked to choose an instance type. To be free tier eligible, you must select a t2.micro type. This should be the default setting, but it is a good idea to double check.
You can leave all other settings at their defaults.
Click Review and Launch. Review the details and click Launch.
You will be prompted to create a new key pair or use an existing key pair. If this is a new account, you must create a key pair here. Follow the directions on the screen. When you have created and selected a key pair to use, click Launch Instances.
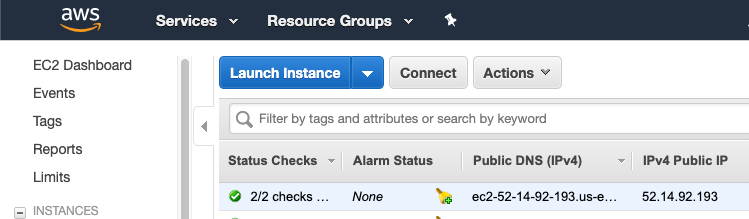
Open the Amazon EC2 dashboard. Find your new running instance in the list and click to highlight it. Click Connect for information on how to connect to this instance using SSH.
Your connection string will be similar to this. Copy and paste the information from Amazon for your instance into your local machine’s terminal and connect to your instance.
$ ssh -i "YourKeyName.pem" ec2-user@ec2-52-14-92-193.us-west-2.compute.amazonaws.comWhen you have successfully connected, you will see output on your terminal similar to this:
__| __|_ ) _| ( / Amazon Linux 2 AMI ___|\___|___|https://aws.amazon.com/amazon-linux-2/Running Gremlin on an Amazon Linux 2 instance requires installing one dependency, iproute-tc:
$ sudo yum install -y iproute-tcStay connected to your instance in this terminal as we move to the next section.
Install Gremlin on Your Server
To begin, add the Gremlin repository info to your server:
$ sudo curl https://rpm.gremlin.com/gremlin.repo -o /etc/yum.repos.d/gremlin.repoThen, install both the Gremlin CLI, which is how the commands are run on the server, and the Gremlin daemon, which communicates with the Gremlin Control Plane to schedule, implement, and halt your Chaos Engineering attacks.
$ sudo yum install -y gremlin gremlindStay connected to your instance in this terminal as we move to the next section.
Register with Gremlin Control Plane
The Gremlin Control Plane is how attacks are controlled. This can be done using a web UI at app.gremlin.com or by using Gremlin’s API. For this article, we will use the web UI for everything.
If you have not already done so, sign up for a Gremlin account at https://app.gremlin.com/signup. Once you have signed up, log in to your free account.
To register your Amazon instance’s Gremlin daemon to the Gremlin Control Plane, you need your Gremlin daemon credentials. To find these in the web UI, follow these steps:
Click the user icon in the upper right to display a menu. From the menu, select Company Settings.
From the Company Settings page, select the right-facing arrow next to your team. If you just signed up, there will be only one team listed.
From the team page, find your Team ID and Secret Key (also called a Team Secret). For a new account, you may have to set up the Secret Key. When you do, save the key somewhere safe as you will not be able to find it again using the UI and then your only option will be to create a new one.
From the running terminal on your local machine, that is still connected to your Amazon instance via SSH, start the Gremlin daemon:
$ gremlin initDuring the daemon startup process, you will be required to enter the Team ID and Team Secret you just found.
Run Your First Attack
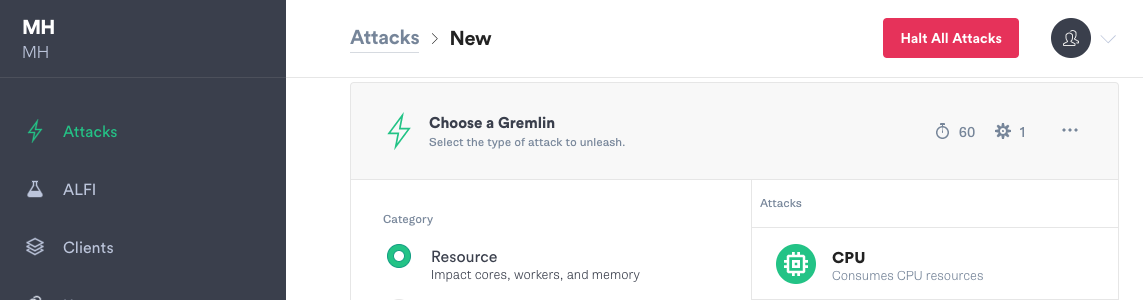
Gremlin calls the various types of chaos experiments available via Gremlin “attacks”. Attacks have parameters YOU control to give you flexibility in your experimentation, from light to severe impacts. Free has two attacks available; CPU and shutdown. For this article, we will perform a CPU attack.
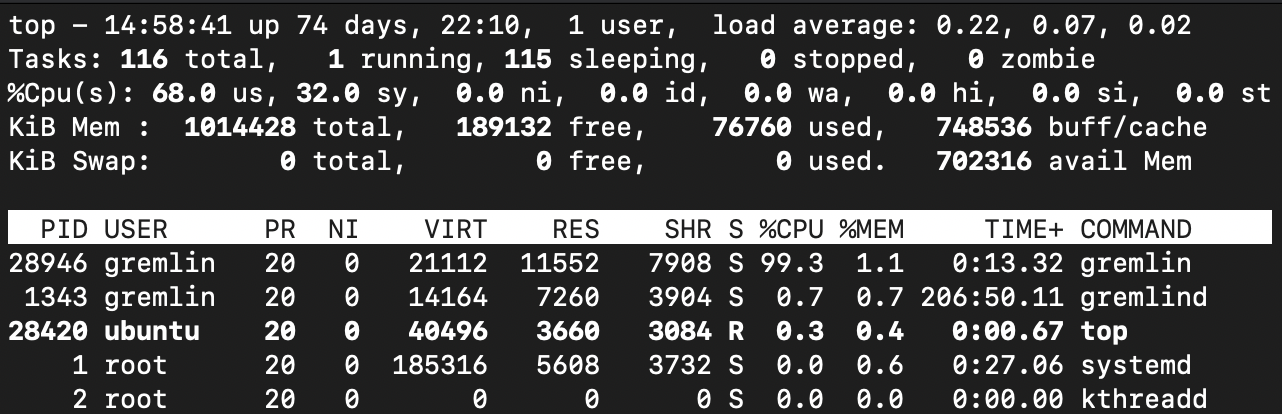
In the running terminal on your local machine, that is still connected to your Amazon instance via SSH, run top and leave running as you continue. This will monitor a number of system health parameters. It isn’t a full-fledged monitoring solution, but is more than adequate for you to observe a CPU attack is running. Here is what it looks like on my instance before running an attack.
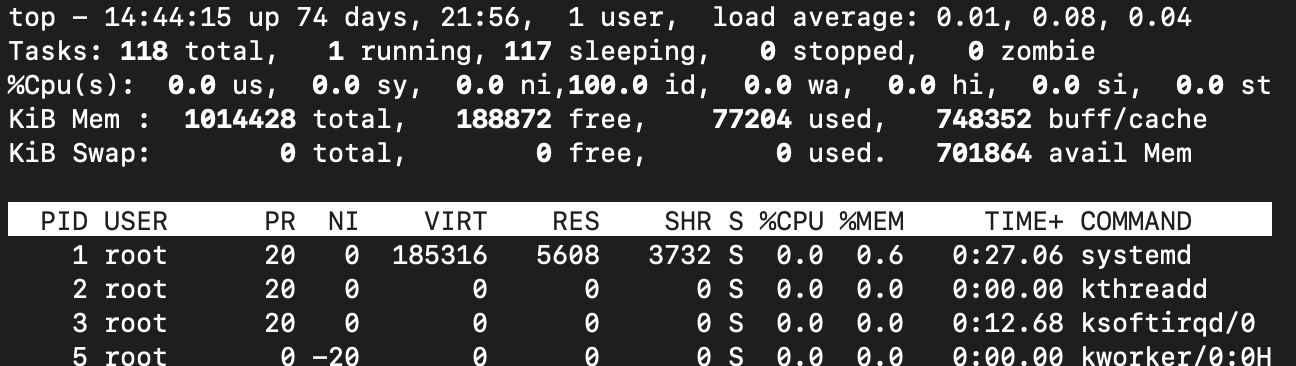
The information you will want to focus on in top as you run the attack is %Cpu. It will spike during the attack.
A CPU attack is designed to consume CPU resources for an amount of time you set and at the level you set. We will use the defaults.
Keep this terminal open with top running while we set up the attack. Watch how the information changes as the attack runs.
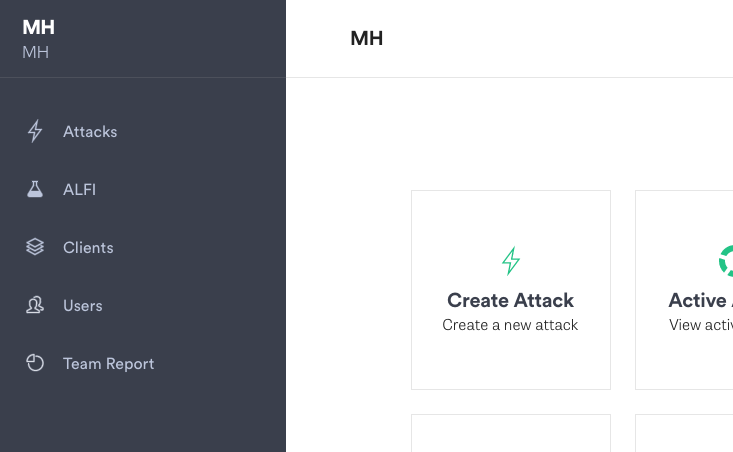
In the Gremlin web UI, select Create Attack.
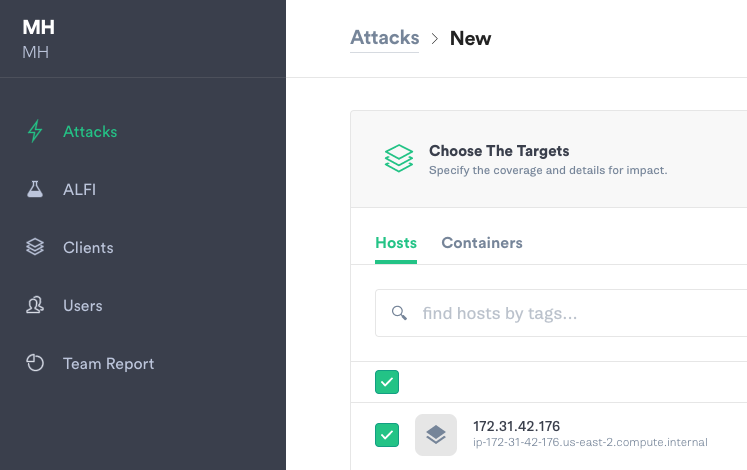
Select the Amazon instance you created and registered as the target for this attack. Scroll down the page.
In the Choose a Gremlin section, you can select which type of attack you want to run. Free includes CPU and Shutdown attacks. For this test, select CPU. Adjust the settings as you like.
Notice the red Halt All Attacks button, which stops any running attack and reverts things back to their previous state. This is especially useful if you encounter problems with overly aggressive experiments.
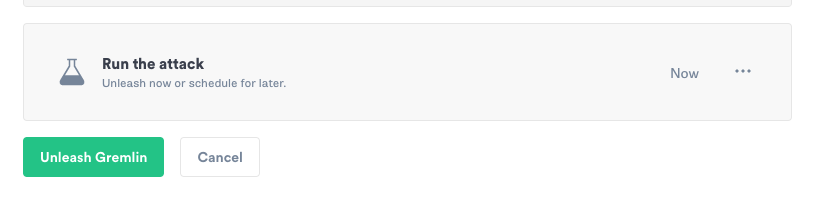
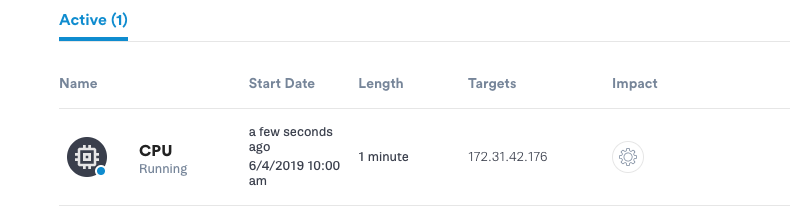
Scroll down and click Unleash Gremlin.
Watch in the Gremlin UI as the attack runs and also how the attack affects the running top in the terminal you opened earlier.
Summary
Congratulations, you just ran your first chaos experiment! Feel free to run the experiment many times, varying parameters and seeing how that impacts your instance. Next steps could be to add a full monitoring solution to the instance for better data or perhaps installing the Gremlin CLI and daemon to a different server that you already own and operate (we recommend doing that with a non-production, non-vital server at this stage, should you go this route).
When you are done testing using the Amazon instance created for this article, don’t forget to terminate the Amazon instance. Best wishes and have fun unleashing the Gremlins!